A while ago now our family friend Nicole inspired me when she said that I should print Maya’s drawings onto t-shirts. I loved this idea, and it has sat with me as a really fun thing to do since she suggested it. My first visualisation was of a multi colour detailed print like you would see at Gap or Crewcuts, and after a brief search for both tees that I liked and printers, the cost and commitment put the idea out the window.
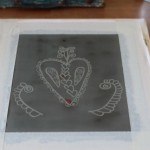
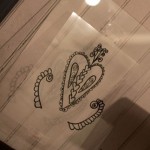
When Maya’s 6th Birthday rolled around, I suggested Art supplies as gifts to anyone who asked. One of the things Maya received was this Screen Printing Kit. I had Maya work on a drawing specifically for printing, by explaining the print should be simple and only one colour for our first attempt. With my suggestion, Maya drew an embellished heart motif, like many she had done before. I then traced over her pencil lines with a black marker, making them bolder and thicker. The image was them transferred via photocopy onto acetate, which is required for the photo emulsion screen printing process. There are three ways to screen print, and photo emulsion is the most complicated, but gives the best results for fine line images and text. With the experience of having studied printmaking at University, I dived in with excitement to this project. It was so much fun to screen print again. I followed the kit instructions, which were basically the same way we did it at University, but without large scale professional equipment.
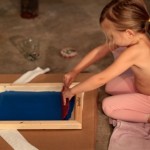
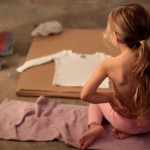
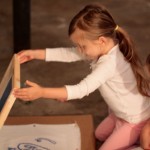
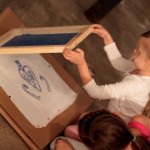
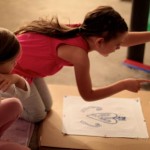
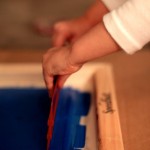
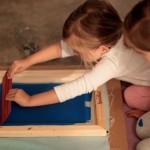
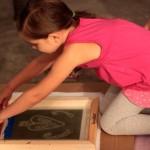
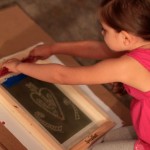
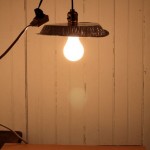
Today I prepared the screen to print, which involved applying the photo emulsion, exposing the image under an intense light source, then hosing out the image negative. Once that was all done and the screen was dry, I tapped the screen to avoid paint bleeding. I then waited patiently to collect Maya from school so she could have the pleasure of doing the first screen print. I set up a cardboard matt on the floor that we thumb tacked the fabric into. Both Maya and Elle alternated printing the fabric squares until we had printed all that I had prepared. It was then that Elle said “Can I print my t-shirt?” and proceeded to take off her top. Maya ran up stairs to her drawers and selected a tee to print as well. I was impressed that Elle printed her own tee shirt. We now have two white tees with blue hearts, and a nice pile of printed fabric squares that I already have plans for. Feeling very proud of our creative girls, we make a great team. Next we plan on printing in pink!


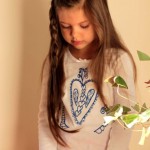
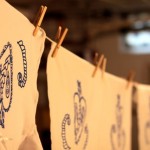
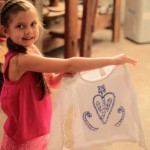
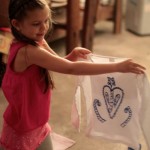




I love this project! In particular, I love how the final product rewards the patience it took to get there. And then there’s the pride in being able to wear your own art! Yay, you!
Thanks Matt – I was talking to Anneliese about making a regular art/craft date with your family when it gets too cold to hike. I am sure B & M would love screen printing too. Thanks for the kind words of support!
i think I want a screen printing kit for chirstmas! what a great idea. thanks!
I have two very artistic children too … and am wondering how expensive it is to set up for screen printing … just the basics, nothing fancy??
What are the essential items for screen printing, and where do you think that I should go to for help on the North Coast??
Cheers,
Zoe
Zoe, you have to print a lot for it to be cost effective. I covered our costs by selling the tote bags…I have a friend who just made screens for her art class with embroidery hoops and organza and glue. Her name is Natalya Garden http://natalyagardenart.com/ You could check out her blog – Nat and I went to Uni together, she is great!