As is our annual tradition, we make Christmas cards over the Thanksgiving holiday weekend. It seems to be the perfect time to make Christmas cards as we then have 10 days to write in the cards and get them to Australia before the Christmas postal cut off date.
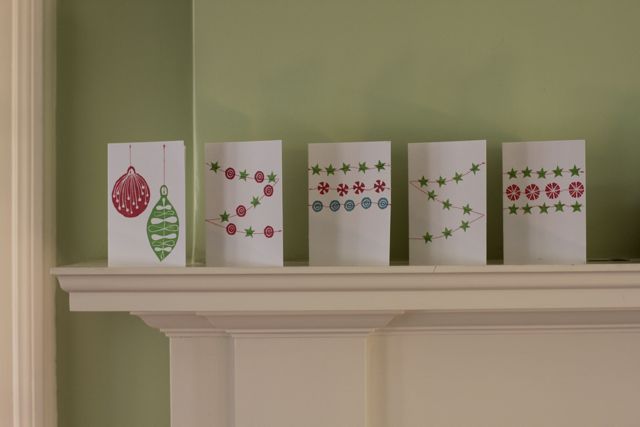
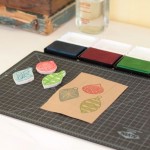
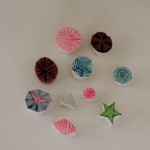
Last year I did not have a chance to make cards because we were actually visiting Australia right up until Christmas, but you might remember the Christmas tree print cards from the year before. Both the cards from 2010 and this year were made with hand carved rubber stamps, using this type of carving block. This year I printed the cards using pigment ink stamp pads, instead of the printing ink and brayer I used previously. They certainly give a different finish – I prefer the depth gained by using the ink and brayer, however I do like the ease of the stamp ink pads, they are much less of a process…you know, dare I say it…it is easier!
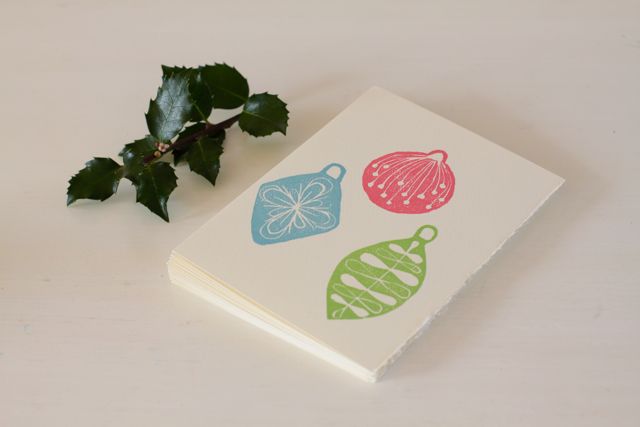
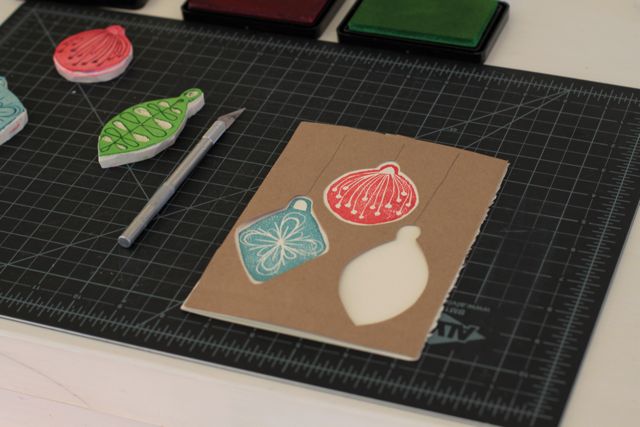
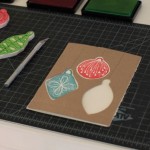
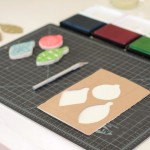
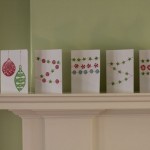
I played around with a few designs and then had my family choose which one to make an edition of. The large ornaments pattern was the favorite. I then made another ornament so that there was three ornaments in the design. I decided on the layout I wanted on scrap paper, and then removed the ornament prints with an exacto blade so that I had a templet. I was then able to make an edition of cards very easily by stamping into the template. This was a great guide so that I did not make an absentminded mistake and waste a card. It also protected the card in case I dropped the stamp.
I intended to sew string from the ornaments with the sewing machine, but Cam preferred the ornaments on their own and talked me out of adding the machine stitches. Cam is a great designer, and so I listen to him (sometimes!)…this is what happens more and more frequently now he is at home being the art directer of our family.
It is starting to feel a lot like Christmas, glad to have this checked off my list. Feeling very satisfied to have a stack of handmade Christmas cards in envelops and ready to be addressed to Australia…off to the post I go!
